Garments finishing process step by step for beginner merchandisers
If you’re a new merchandiser, remember one thing:
“The last stage is the most important.”
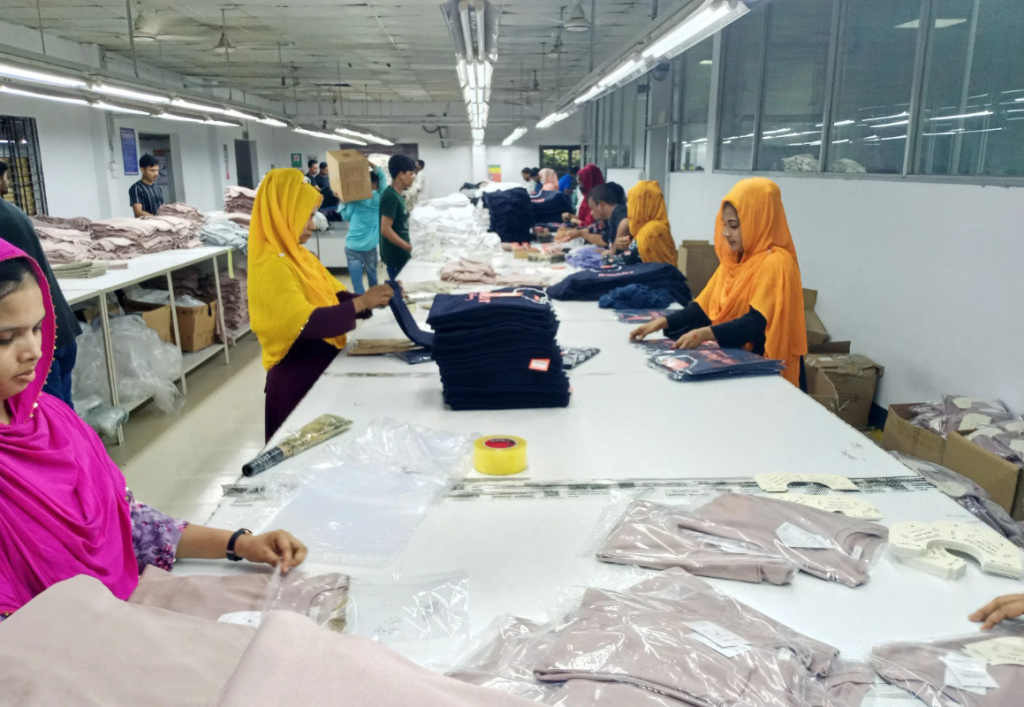
No matter how good stitching is, if finishing is poor — the buyer will reject it. We call the finishing department the beauty parlor because it prepares the garment to look their best.
Let’s learn the finishing process step by step, in a very easy and real way.
What is finishing?
Finishing means:
- Cutting extra thread
- Ironing the garment
- Checking for defects
- Adding tags and stickers
- SKU (Stock Keeping Unit) checking
- Folding
- Packing
- Final checking
- Putting into cartons
It’s the last work before the garment goes to the buyer.
Step-by-step finishing process
1. Thread Cutting
After sewing, some loose and uncut threads are always there.
Workers use Suction Thread / Trimming Machine to remove them.
Why important?
Loose thread = poor quality = buyer complaint.
Tip for merchandiser:
Check 2-3 pieces daily randomly for clean thread trimming.
2. Ironing (Pressing)
The garment is wrinkled after sewing. Pressing makes it look new and clean.
T-shirt: Light iron
Pants: Steam press
Shirt: Flat press with collar shape
Tips:
- Use the right heat (too much heat = damage).
- Avoid water marks or shiny spots.
- Keep pressing area clean.
3. Final quality check
After pressing, a quality checker looks at each piece.
They check:
- Stitching
- Label position
- Size
- Fabric holes or stains
- Missing trims (like button or zip)
✅ OK = Goes to tagging
❌ Not OK = Goes to alter table or reject
Tip:
As a merchandiser, stand there for 10 mins a day. You’ll learn real problems.
4. Tagging & labeling
Now it’s time to add:
- Hang tag
- Price tag
- Brand tag
- Barcode
- Size sticker
Follow buyer’s instruction. Check sample. Don’t guess.
Mistake to avoid:
Wrong tag = full shipment rejection.
5. SKU (Stock Keeping Unit) Checking
Before packing, make sure every garment matches the buyer’s order exactly.
- Check style, color, size, and quantity against the order sheet.
- Match tags, barcodes, and labels with the correct SKU.
- Use the buyer’s packing list or system for reference.
Follow the packing plan — no mix-up allowed.
Mistake to avoid:
Wrong SKU = wrong delivery = unhappy buyer + extra cost for correction.
6. Folding
Now workers fold the garment neatly.
They use a folding board so every piece is the same.
T-shirts: Folded like a square
Pants: Folded in half
Shirts: Folded with collar straight
Tip:
Folding size should match the polybag size.
7. Polybag Packing
Each folded piece goes into a polybag.
Check:
- Poly thickness (8mm, 10 mm , as per buyer)
- Correct size sticker on bag
- Seal / logo/warning properly
Tip:
Some buyers want recyclable polybag — check PO sheet.
8. Bundling & Assortment
Now you bundle by color and size.
Example:
1 bundle = 20 pcs
- S – 6 pcs
- M – 8 pcs
- L – 6 pcs
Put one bundle sticker or list on it.
Tip:
Follow size ratio from buyer chart.
9. Final Inspection
This is the most serious check.
Done by:
- Factory QA
- Buyer QA
- Third-party (SGS, BV, Intertek)
They check:
- AQL standard
- Measurement
- Cleanliness
- Packing
- Labels, Tags
Tip:
Merchandiser must be present during inspection. Keep a checklist.
9. Carton packing
All bundles go into cartons.
Check:
- Carton size
- Carton sticker
- Polybag count matches
- No damage
Seal with tape. Sometimes, add straps.
Tip:
Some buyers want waterproof poly inside carton.
As a beginner merchandiser — what you should do?
| Task | Action |
|---|---|
| Check finishing area | Go daily for 15 minutes |
| Talk to QA | Ask what problems they are facing |
| Keep buyer instruction | Print and give to finishing supervisor |
| Watch folding & packing | See if it matches approved sample |
| Be ready before inspection | Don’t wait for the last day |
Common mistakes in finishing (avoid these!)
| Mistake | Problem |
|---|---|
| No size sticker | Buyer can reject whole order |
| Wrong tag position | Bad presentation |
| Poor ironing | Garment looks used |
| Dirty polybag | Buyer blames factory |
| Missing label | Total shipment block |
Real Life Example: What Happens in Finishing Floor
08:00 AM – Steam presses ON. Garments start coming in.
10:00 AM – One bundle found with missing tag. Work stopped.
11:30 PM – Merchandiser updates buyer: “80% poly packing done.”
2:30 PM – QA finds folding size mismatch. Workers re-do it.
4:00 PM – Final inspection starts. Random 80 pcs checked.
6:00 PM – QC gives green signal. 40 cartons sealed.
That’s a real day on the floor.
Final words: Finishing is the final game
If finishing is good:
- Buyer says “Excellent!”
- Shipment goes on time
- No air cost
- No tension
If finishing is bad:
- Shipment gets stuck
- Buyer gives warning
- Payment delay
- Big headache
So dear new merchandiser:
✅ Visit finishing floor
✅ Talk to QA and finishing in-charge
✅ Make checklists
✅ Follow buyer instructions strictly
✅ Stay alert till the last carton is sealed
Because in garments, finishing is everything.
Finishing Checklist
Finishing Section Checklist
Step
Status
Loose thread removed (Sakar machine)
Ironing smooth & clean
Labels attached properly
Folding done as per size
Polybag with correct sticker
💬 0 Comments
💭 Share your thoughts