What is lab-dip for beginner apparel merchandisers?
Imagine a buyer orders a thousand t-shirts in Sky Blue. But when they arrive, the fabric looks more like Sea Green. The customer is not happy. The factory is confused. And the merchandiser? Stuck in the middle.
This is where Lab-Dip becomes a super hero for apparel merchandisers. It’s not just a small test—it’s the first step in getting colors right and keeping buyers satisfied.
What is a lab-dip?
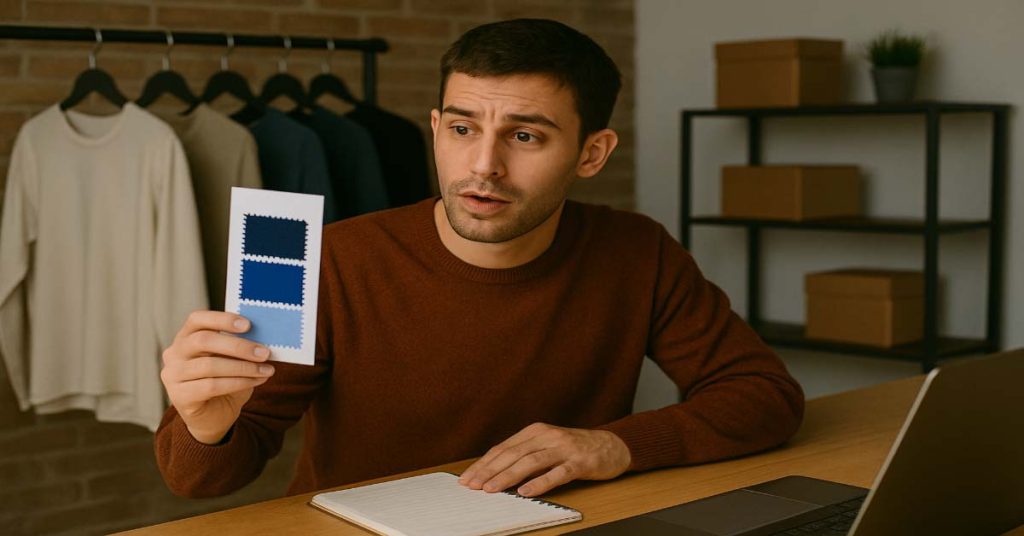
Lab-dip is a small piece (which is 2 cm by 2 cm ) of dyed fabric sent to a buyer before starting bulk production. It shows how the final fabric color will look after dyeing.
Think of it like a sample of paint before painting your room. You don’t want surprises.
Why lab-dip matters for merchandisers
As an apparel merchandiser, your role is to connect the buyer’s demand with the factory’s output. If the color is wrong, it affects:
- Brand image
- Production timeline
- Cost
- Client trust
Lab-dips help avoid all these problems by confirming the right shade before the full fabric is dyed.
The lab-dip process step by step
Let’s break it down simply:
Step 1: Buyer sends color reference
- This can be a Pantone number, a fabric swatch, or even a digital image.
Step 2: Lab prepares the lab-dip
- The dyeing team creates 2–3 color options (usually called A, B, C).
- Each version may use a slightly different dye formula to match the required color.
Step 3: Merchandiser sends it to buyer
- These swatches are couriered or shown physically/digitally.
Step 4: Buyer approves one
- The buyer selects the most accurate match ( “Approve lab dip B”).
Step 5: Start bulk dyeing
- Once approved, bulk fabric dyeing begins using the approved recipe.
Common lab-dip methods
Different dyeing techniques are used based on fabric type. Merchandisers must understand this.
| Fabric Type | Dyeing Method |
|---|---|
| Cotton | Reactive dyeing |
| Polyester | Disperse dyeing |
| Nylon | Acid dyeing |
| Blended Fabric | Combination methods |
Things that can go wrong (and how to avoid them)
As a merchandiser, watch out for:
- Color variation in lighting
- A color may look different in daylight vs. office light. Always check in both.
- Communication gap
- Make sure the buyer gives clear instructions (Pantone or swatch).
- Wrong recipe in bulk dyeing
- Confirm the approved dip number is used during bulk dyeing.
- Delay in approval
- Lab-dip approval delays production. Push for quick feedback from buyers.
Smart tips for merchandisers
- Keep records of all lab-dips with dates, versions, and approvals.
- Create a lab-dip library to reduce time in future developments.
- Always double-check lighting when matching shades.
- Communicate clearly between buyer, dyeing unit, and QA team.
Real-Life Example
Let’s say H&M wants a “Peach Puff” color polo shirt. You receive the Pantone: 13-1024. Your job?
- Inform the dyeing unit.
- Get 3 lab dips (slight tone variations) and 3 set.
- Send to H&M.
- They approve “Lab Dip C.”
- Confirm with dyeing team: Use formula for Dip C only.
- Proceed to bulk dyeing.
That’s real merchandiser work—hands-on, time-bound, color-critical.
Why it is more than just fabric?
Lab-dips are not just about color—they represent trust, timing, and quality. When you get the color right, everything else flows smoothly. When you get it wrong… refunds, delays, and stress follow.
For a merchandiser, mastering the lab-dip process is a sign of professionalism.
Conclusion: lab-dip = color confidence
So, what is a lab-dip for apparel merchandisers?
It’s your safety check, your color preview, and your ticket to successful production. Without it, the entire apparel production can go off-color—literally.
Whether you’re a beginner or a seasoned merchandiser, knowing how to handle lab-dips smartly makes you faster, sharper, and more trusted by buyers.
💬 1 Comments
💭 Share your thoughts