Garments Production Process – For Beginner Merchandiser.
Imagine this: A trendy t-shirt in a store in New York, a denim jacket in Tokyo, or a school uniform in Dhaka—none of these garments exist overnight. They come through a step-by-step journey called the garments production process, and if you’re a beginner merchandiser, understanding this journey is your gateway into the world of fashion manufacturing.
Let’s unfold the cinematic story of how a simple design idea becomes a wearable product—and how you, as a merchandiser, become the key character in this reality-driven production drama.
Scene 1: The Beginning – Buyer’s Tech Pack
Every production story begins with a tech pack (technical package).
The buyer sends a tech pack to the manufacturer. This includes the garment’s sketch, measurement chart, fabric details, stitching type, trims/accessories, colorways, and more. This is the blueprint for production.
✅ Beginner Tip:
“As a merchandiser, your first job is to read and understand the tech pack. You must decode every detail. This avoids mistakes later.”
Scene 2: Consumption and Costing – The Math Begins
Now, the calculates consumption—how much fabric, thread, trims, labels, etc., are required for each piece. Based on that, costing is prepared.
Real Practice:
- Fabric makes up 60-70% of total garment cost.
- Wastage, shrinkage, and GSM (fabric weight) must be considered.
✅ Example:
“For a cotton polo shirt, you may calculate 0.85 meters of fabric per piece, then add 5% wastage. Final fabric consumption becomes ~0.89 meters.”
Once the FOB (Free on Board) price is negotiated and approved, the buyer places the purchase order (PO).
Scene 3: Sourcing Raw Materials
Now begins the hunt for the right materials.
As a merchandiser, you need to source:
- Fabric (knit/woven, dyed/printed)
- Trims & Accessories(labels, buttons, zippers, thread)
- Packing materials(poly bags, hangtags, cartons)
You collect PI (Proforma Invoice) from suppliers, make advance payments (if required), and chase up with suppliers to ensure timely delivery.
✅ Pro Merch Tip:
“Keep a sourcing tracker and follow up weekly. Time lost here will delay the whole production.”
Scene 4: Approval Stage
Before bulk production starts, all items listed below must be approved by the buyer.
- Lab-dip
- Fit Sample
- Trims & Accessories
- Strike-offs (for prints and Embo.)
- PP Sample
✅ Beginner Note:
“Lab dips are tested under different light sources (Daylight -D-65, Ultra violet-UV ) to ensure color matching.”
Scene 5: Pre-Production (PP) Meeting
This is the final planning session before bulk production begins.
✅ Attendees:
- Merchandiser
- Factory production manager
- Cutting/sewing/finishing Manager/Supervisors
- Quality control (QC) team
✅ They discuss:
- Approved samples
- Quality standards
- Special handling (e.g. placement print, embroidery)
- Timeline (TNA calendar)
After PP meeting, the green signal is given for bulk production.
Scene 6: Cutting Department
Bulk fabric arrives and gets relaxed for 12–24 hours.
✅ Then it goes through:
- Spreading – Laying fabric layers evenly.
- Cutting – Manual or auto-cutting by machines.
- Bundling – Pieces bundled by size & color.
This is a critical stage because wrong cutting = total loss.
✅ Beginner Alert:
“Double-check marker efficiency. A 1% saving in marker = huge cost benefit.”
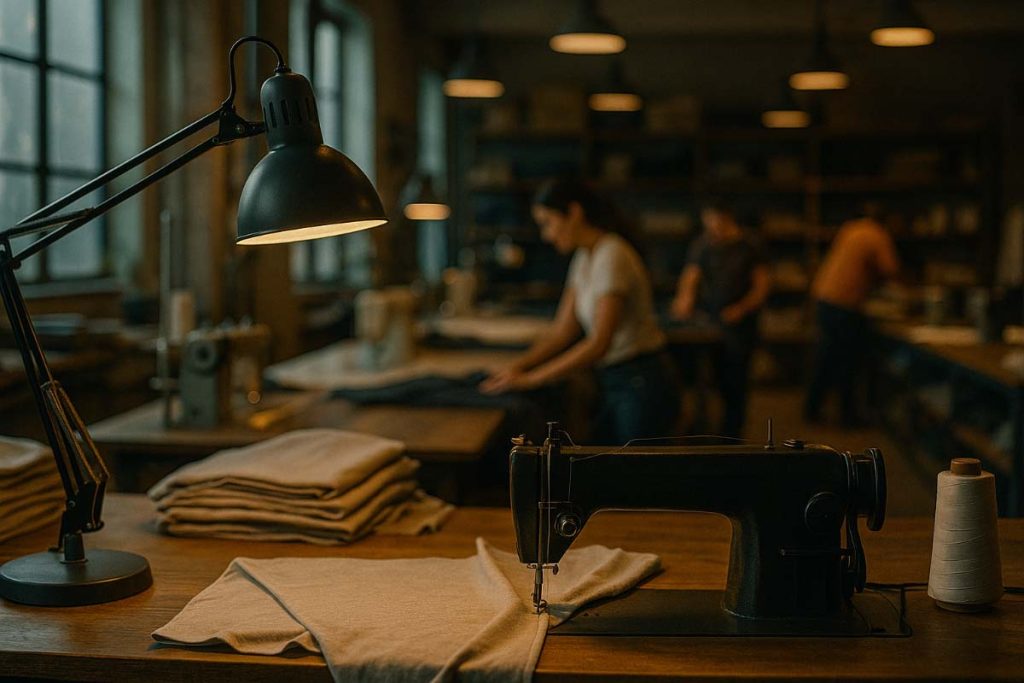
Scene 7: Sewing Line – The Heartbeat of Production
The cut pieces are now stitched in an assembly line. Each worker does one operation: solder join, collar attach, sleeve join, label fix, etc.
✅ Merchandiser’s Role:
- Ensure approved sample is available on the line.
- Coordinate with line QC and supervisor.
- Monitor production output vs plan.
✅ Real Fact:
“A basic t-shirt has 8–12 sewing operations. A denim jacket may have 30+.”
Scene 8: Washing (If Required)
Some garments (especially denim) go through washing units:
- Enzyme wash
- Stone wash
- Silicon wash
- Pigment dye
These processes give garments a unique feel, color, and shrinkage control.
Scene 9: Finishing & Quality Control
After sewing (and washing), garments go for:
- Ironing
- Measurement checking
- Thread trimming
- Packing
Quality inspectors check for:
- Broken stitches
- Fabric defects
- Label accuracy
- Measurement tolerance
✅ Tip for Beginners:
“AQL (Acceptable Quality Level) system is followed. Learn AQL 1.5, 2.5, 4.0 levels.”
Scene 10: Packing & Shipment
Approved garments are packed as per buyer’s instruction:
- Folding style
- Hangtags
- Barcode stickers
- Polybags
- Carton dimensions
Then the goods are loaded into containers or air-shipped based on shipment terms.
The merchandiser sends the final shipping documents (invoice, packing list, BL/AWB) to buyer for customs clearance.
Real History of Garments Production in Bangladesh
Let’s rewind the clock.
Bangladesh’s RMG (Ready-Made Garment) industry began in late 1970s . The real breakthrough came with Desh Garments in 1978, in collaboration with Daewoo (South Korea) .
From only 120 workers , the industry has grown to over 4 million workers today—mostly women. Bangladesh is now the second-largest garment exporter in the world, after China.
Famous global brands like H&M, Zara, GAP, Uniqlo, and Primark source garments from here.
Final Words for Beginner Merchandiser
The garments production process is like a movie—full of characters, scripts, timelines, and real drama. As a merchandiser, you are the director who ensures everything runs smoothly from script to screen —or from tech pack to shipment .
✅ Key Reminders:
- Communication is your biggest tool.
- Be friends with Excel.
- Learn how to chase suppliers without being annoying.
- Build trust with your production team.
- Always stay 2 steps ahead in the timeline.
Remember, even the biggest merchandisers started with confusion and curiosity. Keep learning, stay sharp, and one day you will lead an entire production like a true industry hero.
💬 1 Comments
💭 Share your thoughts